Configuring robots in Control Room
To run your robots locally using Robocorp Workforce Agent or in a Robocorp-Hosted Cloud Worker, you need to configure Control Room.
Create a new robot in Control Room
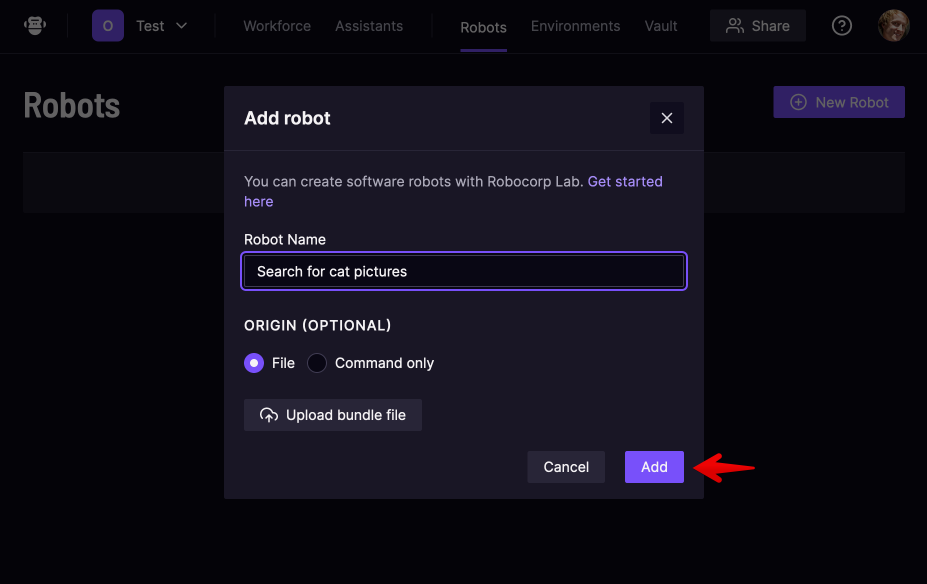
Go to Control Room, select a workspace, navigate to the Robots section, and click the New robot button. Provide a name for the robot, for example, Search for cat pictures. Leave the other options as they are, and press the Add button.
Upload the robot code to Control Room
You can upload your robot to Control Room using VS Code Robocorp extension.
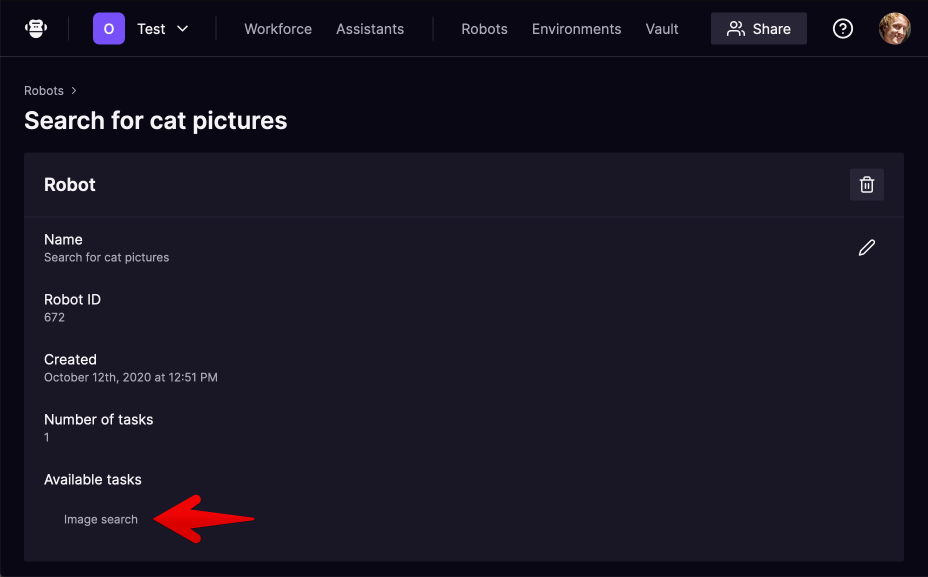
After Control Room processes the robot, you can see the steps defined in your package on the UI.
Unattended Process
Create a new process
Navigate to the Processes section, and click the New process button. Provide a name for the process, for example, Google image search.
Add a step to the process, selecting an unattended worker for it
- Click on the process you created.
- Click the
Configure processbutton. - In the
Stepssection, click theAdd stepbutton. - Select the robot to add.
- Select a Worker or a Worker Group. The default is Robocorp-Hosted Cloud Worker (
robocorp/robocontainer:latest).
Run the process
Navigate to the Workspace section and click the Start button.
Note: If needed, you can also set your process up so it can be executed using a remote API call.
Assistant robot
Navigate to the Assistants section, and click the New Assistant button. Provide a name for the assistant, for example, My assistant. Select your robot, and click Create:
Learn more about robot assistants in Control Room.
Summary
You configured a robot for running in Control Room from scratch.