Creating a PDF
Maria creates a PDF from the sales data table in the intranet and sends it out as a company newsletter to ensure that her colleagues look at it.
After all, it would be a shame if no one saw the result of all that copy-pasting!
Maria copies the table into Microsoft Word and exports it to PDF with some additional software. Our robot, instead, will do it all by itself automatically.
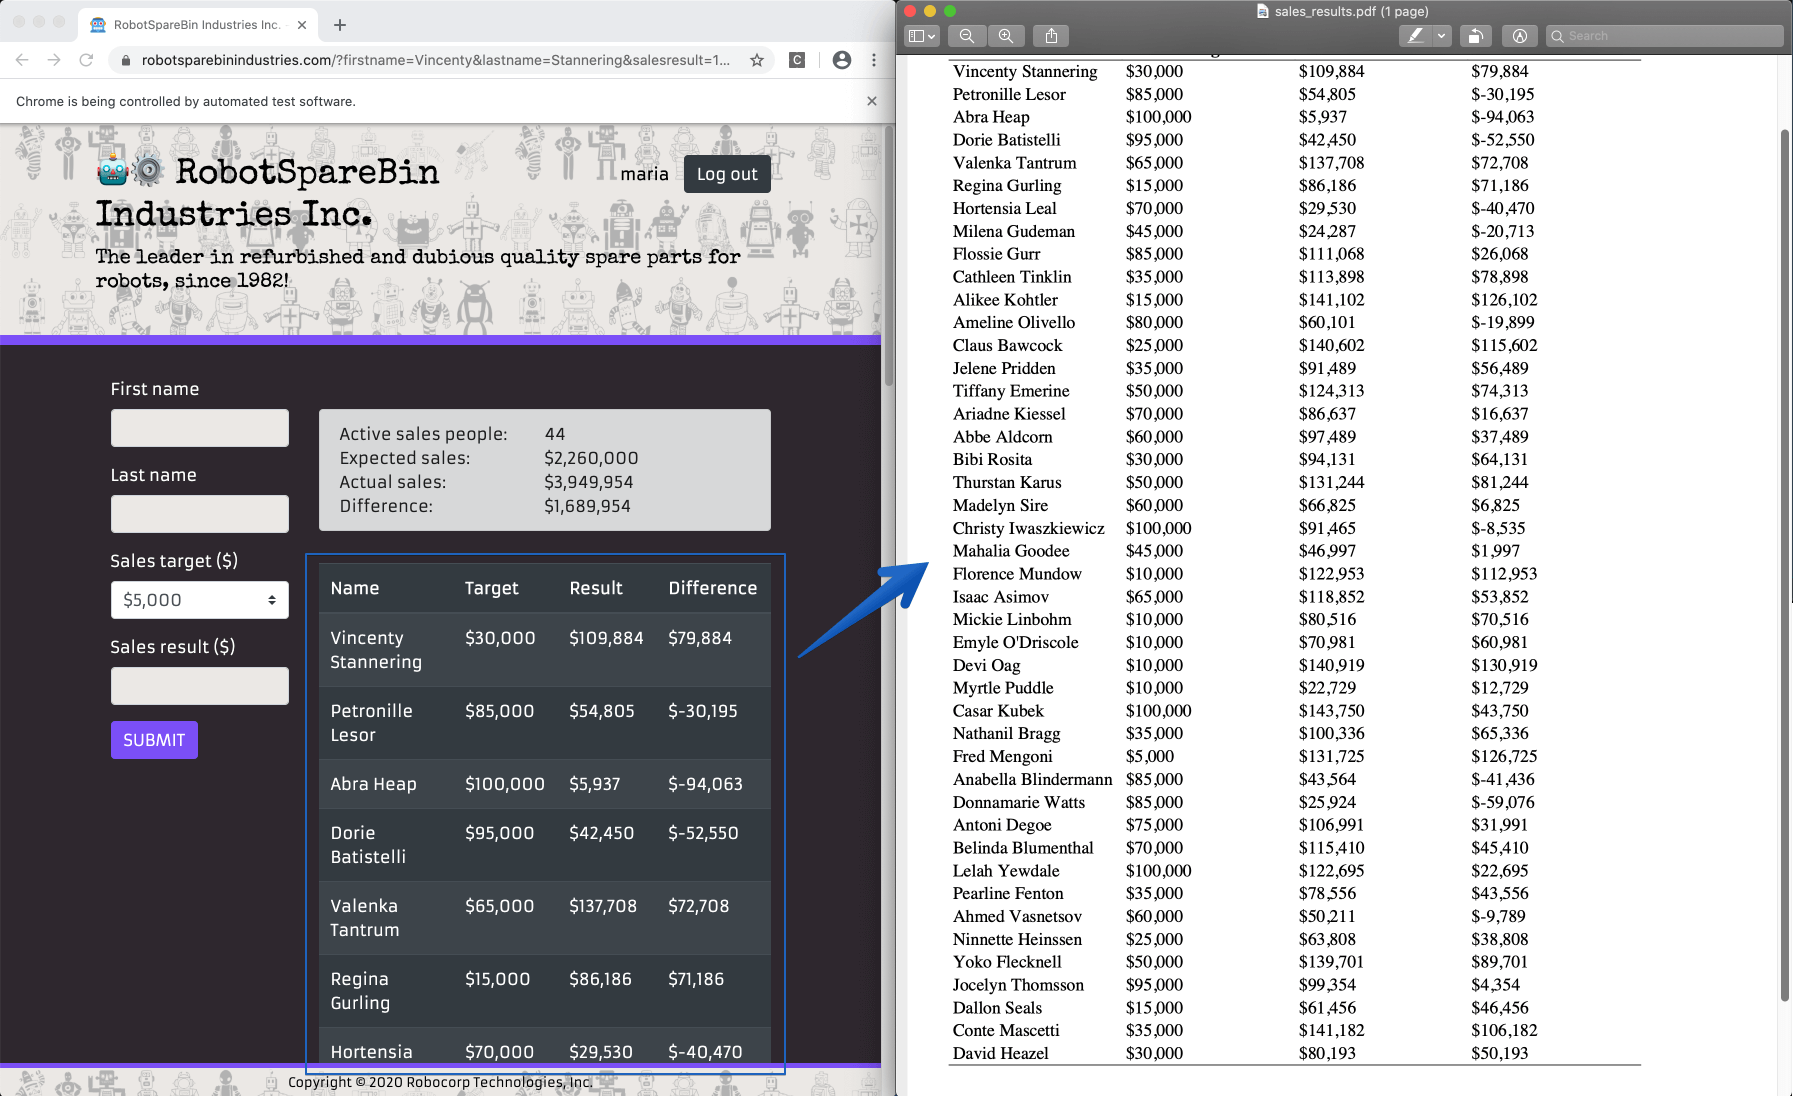
We want to turn the table on the left into the PDF on the right:
As always, let's start by adding a new step in our *** Tasks *** section:
Then we add a new keyword:
As always, we plan to do this in steps. (Remember the poor elephant we are eating? 🐘)
Our plan for this keyword is:
- we isolate the part of the page that contains the sales table
- we assign the content (HTML markup) of that part of the page to a variable
- we create a PDF with the HTML content of the table.
Getting the HTML table element out of the page
We want to make sure that the table element exists on the page when trying to "grab" it. We'll use the Wait Until Element Is Visible keyword. We just need a locator.
The HTML markup of the table area on the page looks like this:
The table is wrapped in a <div> element with an id attribute of sales-results. Our locator will then be id:sales-results.
Look at that beautiful code. It's almost like that page was created for this course! 😍
We will modify our keyword like this:
Next, we want to put the HTML markup of that element into a variable. We can do this with the Get Element Attribute keyword (RPA.Browser.Selenium library) like this:
Ok, we admit this was not too easy to guess. 😅 But no panic! Let's see what's going on on this new line.
We create a variable (${sales_results_html}=). We store into it what we get out of the Get Element Attribute keyword. We pass two arguments to that keyword: the first is the locator for the element (id:sales-results); the second is the name of the attribute of the element we want to get.
In our case, we want all the HTML markup of that element, including everything inside it, so we choose the outerHTML attribute.
You can read more about the Element API if you are interested. It gets pretty technical, though. Please don't say we did not warn you! 🙂
Alright! Let's rerun our robot.
The log shows the robot has now grabbed the HTML markup for the table:

Creating the PDF file out of the HTML contents variable
Only one more step to go!
Now that we have the HTML contents of the table in a variable, we need to create a PDF file out of it. To do it, we will add the RPA.PDF library!
Add a new library, get new keywords... Wax on, wax off... 🥋 Practice will make us perfect! 💪
Now we can add the final line to our keyword.
We use the Html To Pdf keyword provided by the RPA.PDF library to create a sales_results.pdf file out of our ${sales_results_html} variable's contents, and place it again into the output folder (${OUTPUT_DIR}${/}).
And that's it!
Here's what our robot code looks like now:
Let's run the robot one final time.
A new sales_results.pdf file appears in the output directory, containing the sales data! 🎉🎉🎉
If you click on the PDF document, VS Code might suggest finding a suitable extension for viewing PDF documents. You can accept and install an extension!
What we learned
- You can use the
Get Element Attributekeyword from theRPA.Browser.Seleniumlibrary to get the actual HTML markup of any element using theouterHTMLattribute. - You can create a PDF file from HTML content using the
RPA.PDFlibrary and theHtml To Pdfkeyword.