Locators in Visual Studio Code
With the Robocorp extensions for Visual Studio Code installed you can leverage our Inspector -tooling directly from VS Code. You can create locators for websites, Windows applications, image-based automations and also use the Web Recorder functionality without needing any browser extensions.
The key thing here is to store the locators behind aliases in you robot so that if the locators need to change your robot code can stay the same as it is only using the aliases of the locators.
You can find these in the Robocorp Code -side panel by clicking our Mark the Monkey icon.
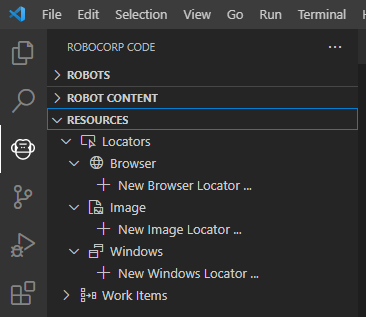
Browser locators
Browser locators enable you to create and store browser interface locators so that they can be shared and reused. Let's create a named locator for the search field on google.com.
Open the Inspector
- Click the Robocorp icon in the Activity Bar.
- Select a robot in the
Robotspanel. - From the
Resourcespanel, selectNew Browser Locator....
Add a new locator
A UI Inspector window and a new browser window will appear:
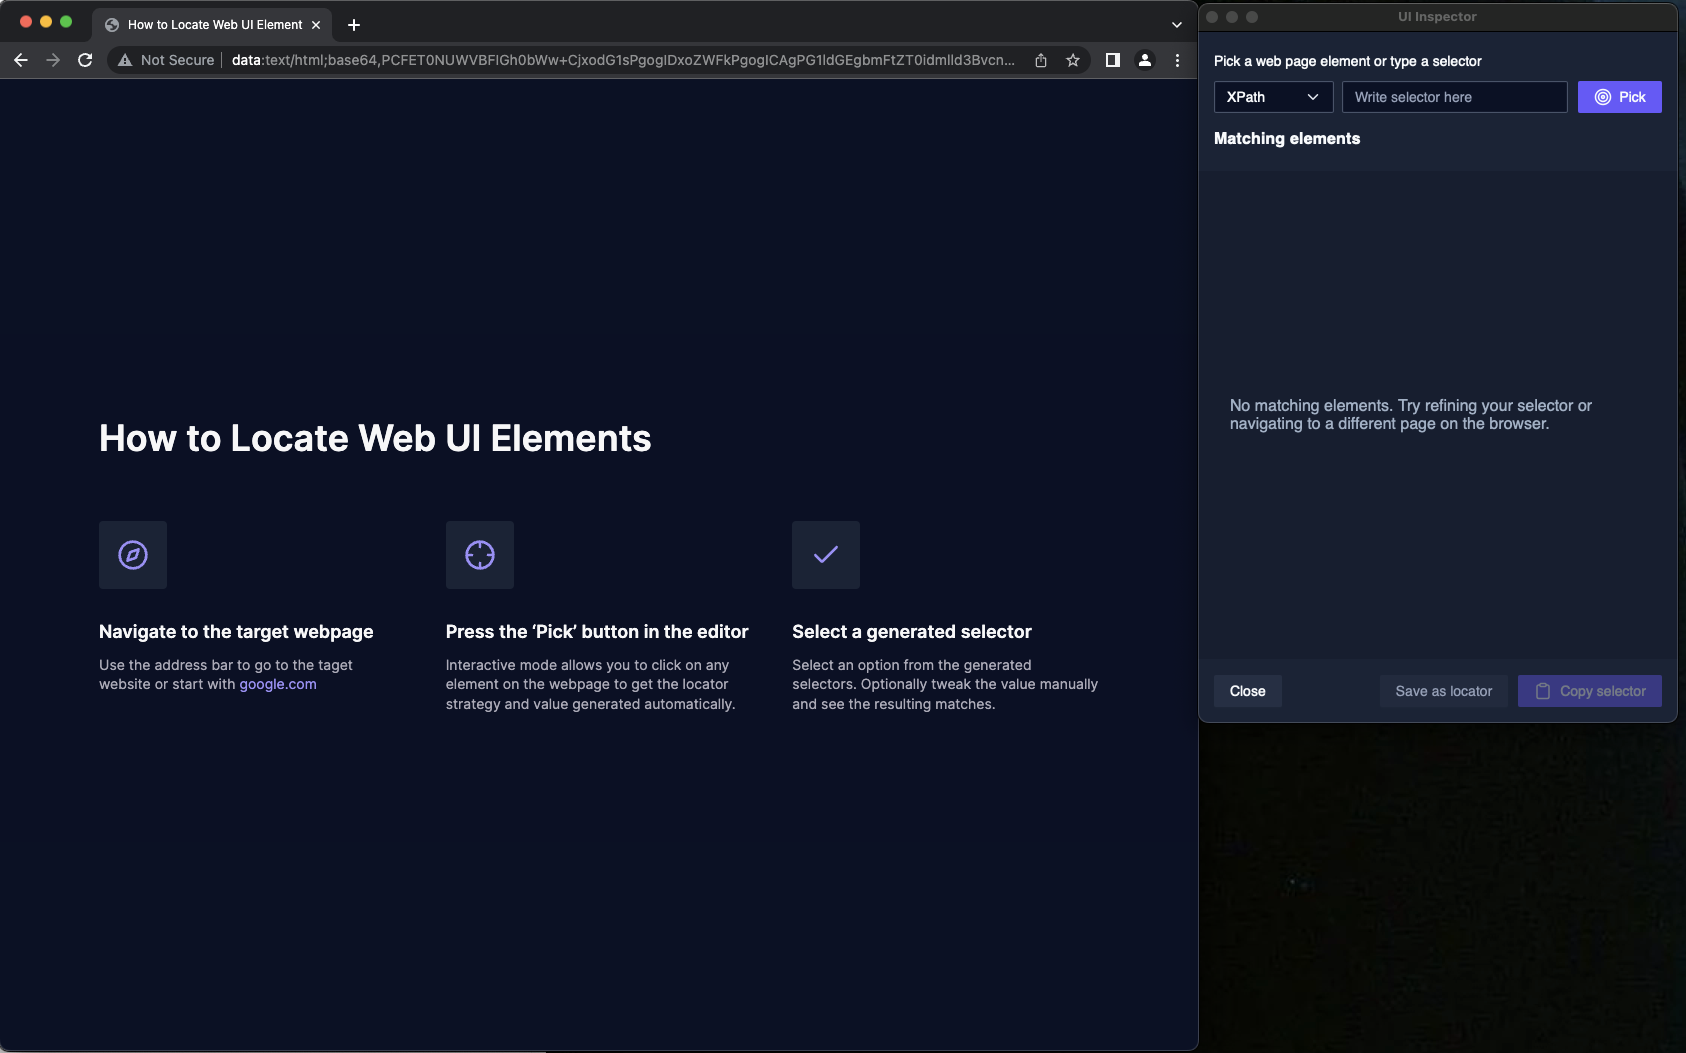
Navigate to www.google.com in the new browser window and select Pick in the UI Inspector window:
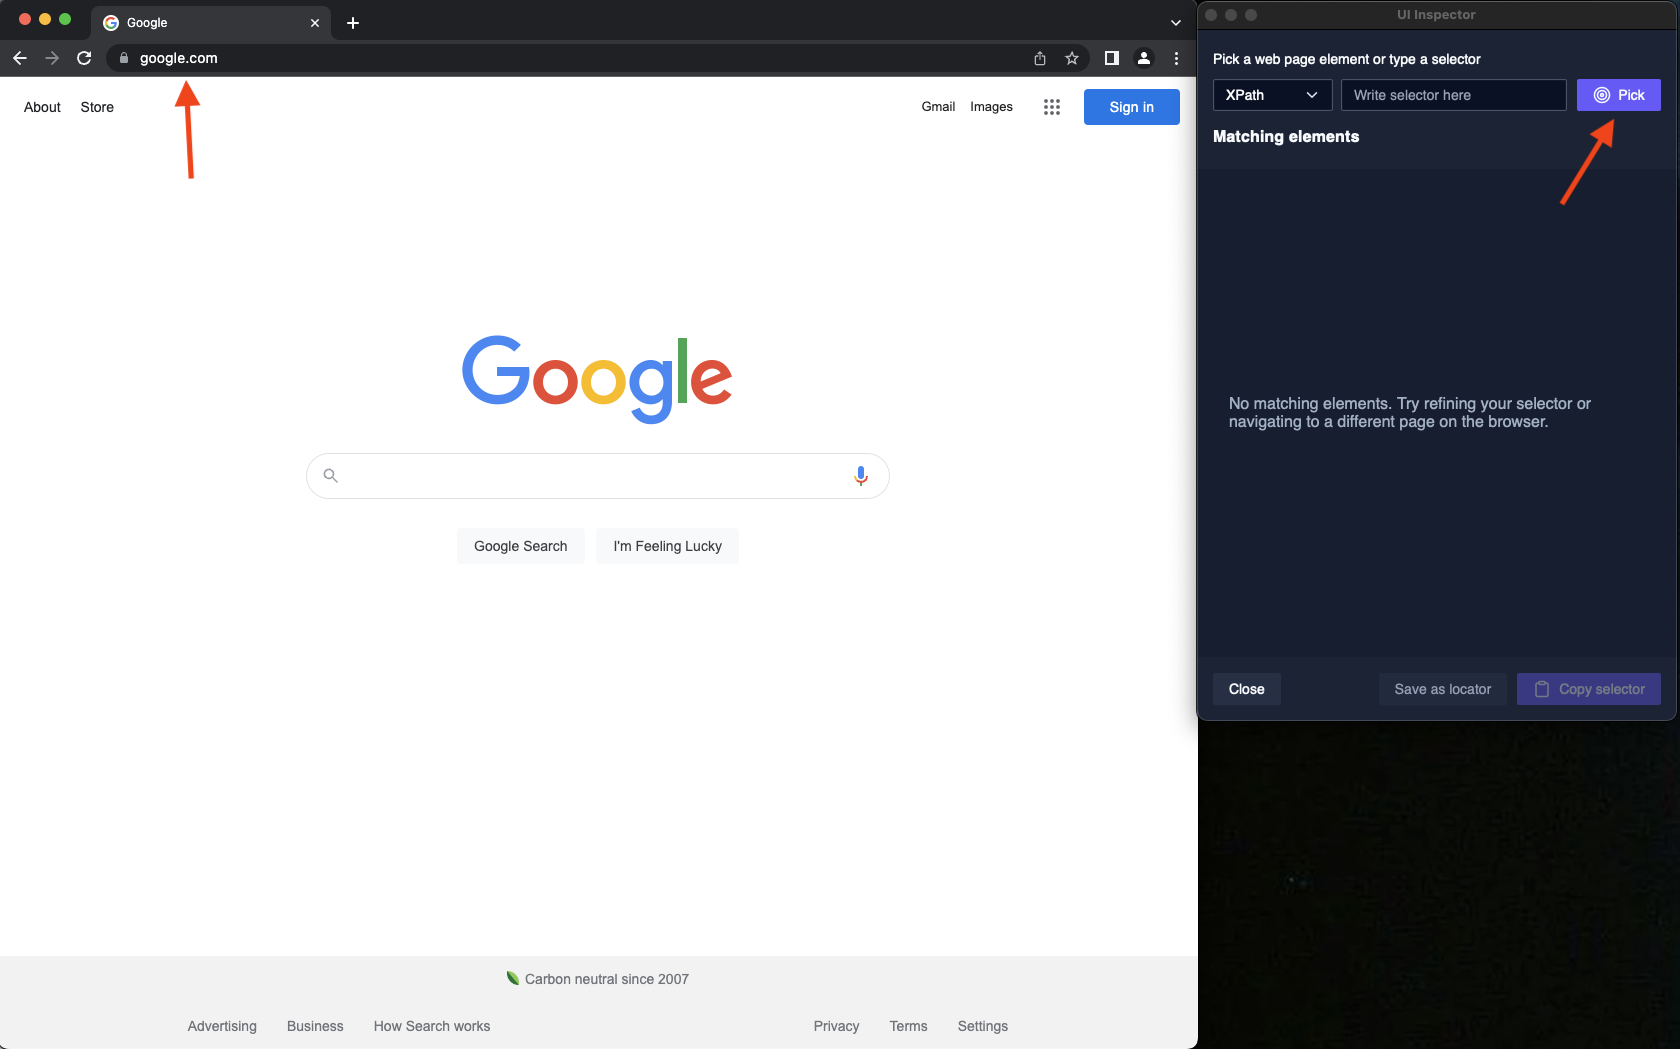
Click on the search text box. The UI Inspector window will now show a list of available locators you to choose from:

Click the first option name

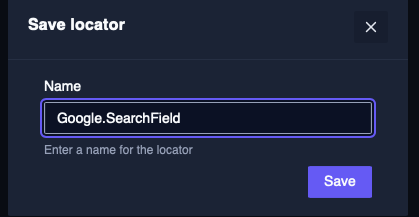
In the browser the search box should now be outlined in purple. This outline indicates what the locator will select when used in a robot. Now that you are happy with your selection select Save as locator:

The locator requires a name. The suggested format is Website.ElementName. In our case, let's use Google.SearchField, where Google is the group name and SearchField is the element name (you could later add Google.SearchButton, Google.LoginLink, etc.).:
Use the stored locator
To use the stored locator in your robot, copy the locator alias:

Paste the UI locator alias:
NOTE: browser based
aliaslocators only work in Selenium
Windows Application Locators
Your robot needs to locate user interface elements, such as buttons. For web-based applications, when the HTML markup provides identifiers for the elements, locating them is straightforward. With desktop applications, locating and targeting the elements might be more difficult. The following example demonstrates finding locators using the New Windows Locator... option in the Robocorp icon in the Activity Bar.
The example targets the basic calculator application on Windows 10.
The inspector feature is triggered and ti will ask for the target application by showing a list of currently open applications.
Select your application and click on Pick when you are ready.
When you click on an element that the inspector can identify it will process it and show your the resulting locator.
You can edit the locator manually if you want to or save it as a locator.
This feature is currently in Beta so please test it out and provide feedback!
Image-based locators
Some applications do not expose their internals in a way that can be targeted using textual locators. In these situations, you can try image template matching. This example demonstrates the use of image templates with the Paint application in Windows 10.
The RPA.Desktop library is a cross-platform solution for navigating and interacting with desktops of different operating systems (Windows, Linux, macOS!). It can be used to automate applications through the same interfaces that are available to human users.
Add the
rpaframework-recognitionpackage as a dependency in theconda.yamlfile to enable image template matching:
The robot:
- opens the Paint application
- selects the Text tool
- uses the Text tool to type on the canvas
We are missing the UI locator aliases for the Text tool and the canvas in the script:
Open the Image locator interface
- Click the Robocorp icon in the Activity Bar.
- Select a robot in the
Robotspanel. - From the
Resourcespanel, selectNew Image Locator....
Add a new locator
Press the Pick area button to add a new locator:

macOS: VS Code will ask for permissions. Go to
System Preferences->Security & Privacyand checkVS Codein theScreen Recordingsection.
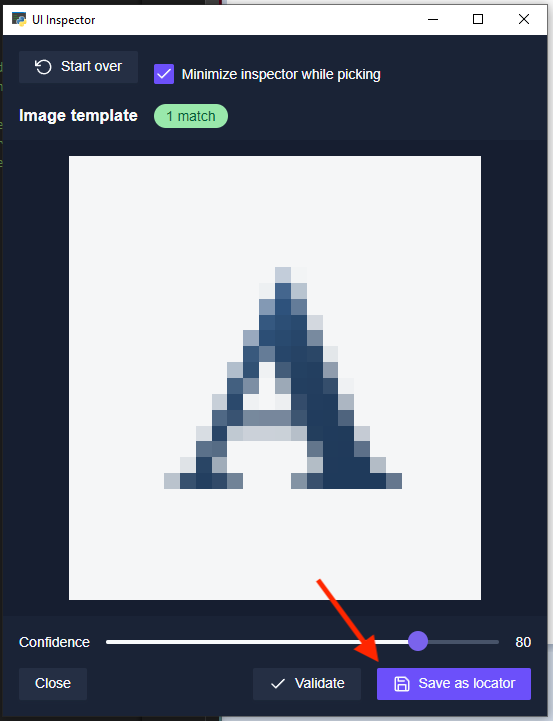
The mouse cursor changes into a crosshair. With the crosshair, drag a rectangle around the Text button on the Paint user interface. Select only the element that you are targeting:

When running the robot, the mouse click will target the center of the selected image.
VS Code saves a screenshot of the selection. Select Save as locator:
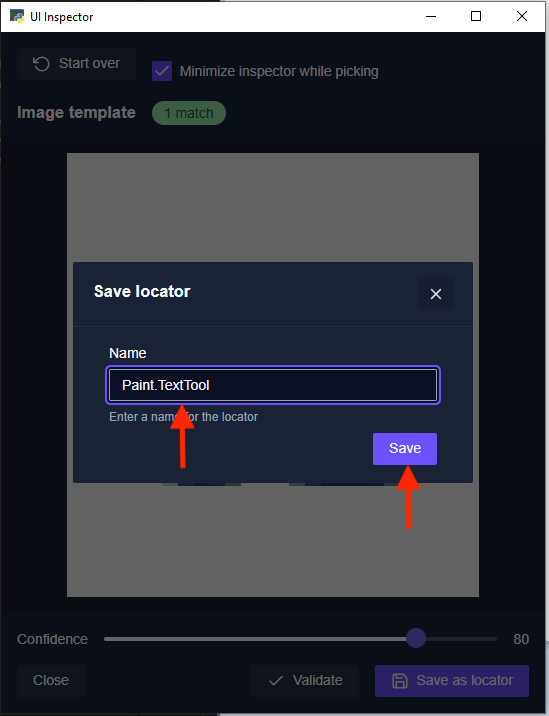
Provide a name for the locator (Paint.TextTool). Click Save:
The locators are stored in the
locators.jsonfile at the root of your robot. The images are stored in the.imagesdirectory. The files can be shared with other developers. This way, you can build locator libraries for your applications and reuse them over and over again!
Copy the UI locator alias to the clipboard using the copy button:

Paste the UI locator alias into the robot script:
Now that we have the Text tool located, the remaining locator should help the robot to find the canvas to type on. Repeat the above steps, this time selecting the Tools text:

Store the locator using Paint.ToolsLabel as the name. Copy the locator alias and paste it into the robot script:
Why did we select that particular element? One option for finding the canvas is to use a reference point on the user interface and then click somewhere under that point. In this case, we decided the Tools text is pretty stable (it will stay there even if the window size is bigger than expected). Using the reference point, we can instruct the robot to find that point and then click 100 pixels under that point (offset:0, 100).
The finalized Write on canvas keyword implementation looks like this:
Performance considerations
The image template matching takes a screenshot of the entire screen for every match operation. This can add a 500-1500ms delay depending on the operating system, screen resolution, CPU, and other factors.
Conclusion
Robocorp assists you with finding the user interface elements for your robot.